
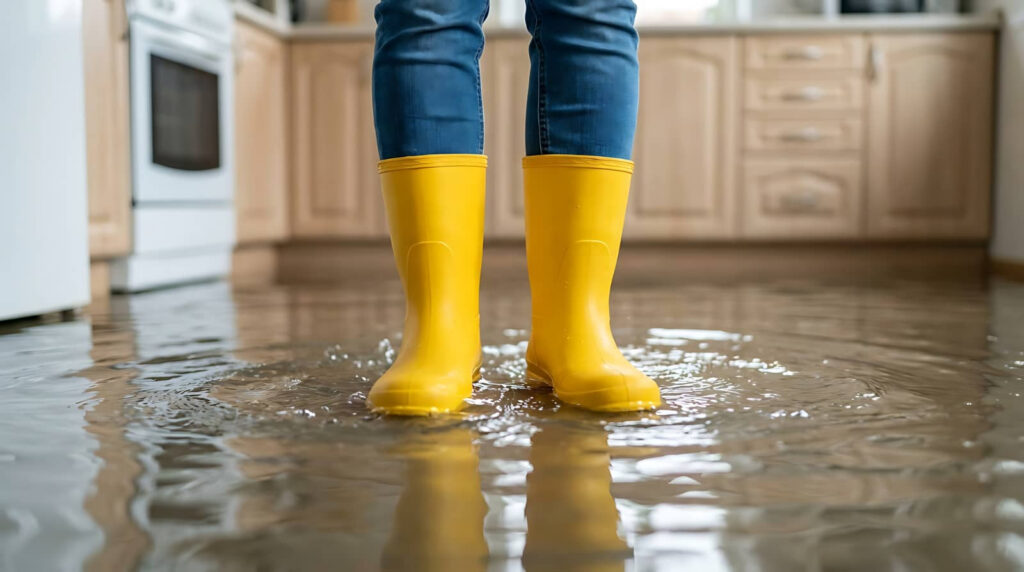
The water damage cleanup and drying process starts by stopping the water source, securing the affected area, and beginning cleanup. Professionals locate hidden moisture, track its spread, and map the damage to determine which materials need attention. Using moisture meters, thermal imaging, water extraction equipment, air movers, and dehumidifiers, they remove standing water and thoroughly dry affected areas. However, the water damage cleanup and drying process doesn’t end when surfaces feel dry. Moisture can remain trapped in walls, floors, and ceilings, making professional moisture monitoring essential to help prevent mold growth and protect your property’s structural integrity.
Key Takeaways
- Professionals first stop the water source, shut off power, and secure the area to prevent hazards before cleanup begins.
- They use moisture meters, thermal imaging, and probing tools to find hidden water behind walls, under floors, and inside cavities.
- Standing water is removed with pumps, wet vacs, and extraction tools, followed by airflow and dehumidification to speed drying.
- Air movers and dehumidifiers are positioned to keep humidity low, ideally below 60%, and dry materials evenly.
- Technicians track moisture daily, clean and disinfect affected areas, and wait until readings are safe before repairs or reinstallation.
Stop the Water and Make the Area Safe
First, stop the water source and make the area safe for work. You shut off valves, close the main supply if needed, and cut power to affected circuits before you enter.
Then you check for slip hazards, sharp debris, and unstable materials so your crew can move with confidence. You wear gloves, boots, and eye protection, and you mark the zone to keep others out.
After that, you remove pets, valuables, and any items that block access. This step starts the water damage cleanup and drying process by controlling risk before extraction begins.
When you secure the area, you protect the structure, reduce secondary damage, and give your team a clean, organized space to work together efficiently.
Find Hidden Moisture After Water Damage
You use moisture mapping tools to locate damp materials and trace the spread of water beyond visible damage.
You also check behind walls, under flooring, and inside cavities to detect hidden water that standard inspection can miss.
This step lets you target drying equipment and prevent lingering moisture from causing further damage.
Moisture Mapping Tools
Moisture mapping tools help technicians locate hidden water after damage by measuring temperature, humidity, and material moisture levels across affected areas.
You get a clear baseline, then compare readings room by room, wall by wall, and floor by floor. This method lets you identify abnormal patterns fast and mark them on a drying plan.
You can track moisture migration, verify progress, and confirm when surfaces return to acceptable ranges. Technicians use calibrated meters and thermal imaging to build a precise map, so your team stays aligned on where drying must continue.
With this data, you avoid guesswork and keep cleanup organized. You’re part of a controlled process that protects the structure, speeds restoration, and helps everyone move toward the same finish line.
Hidden Water Detection
Where does hidden water settle after a leak or flood? You’ll find it in wall cavities, under baseboards, beneath flooring, inside insulation, and around sill plates.
To detect it, you should pair moisture mapping with thermal imaging, pinless meters, and probing meters. Then you can confirm elevated readings against known dry areas and trace the migration path.
Listen for hollow sounds, inspect seams, and check penetrations, because water often follows gravity and capillary action.
If you’re part of a restoration team, you need to document each reading, so everyone works from the same evidence. That shared process helps you protect the structure, reduce surprises, and move confidently into targeted drying.
Precise detection isn’t guesswork; it’s how you belong to a crew that restores safely and completely.
How Extraction, Airflow, and Dehumidifiers Dry Water Damage
You first extract standing water with pumps, wet vacuums, or other removal tools to reduce the moisture load fast.
Then you increase airflow with fans to speed evaporation from surfaces and hidden materials.
Finally, you run dehumidifiers to control ambient moisture and pull water vapor from the air until the structure reaches safe drying levels.
Water Extraction Steps
Extraction starts the drying process by removing standing water before it can migrate deeper into materials.
You’ll typically see technicians map the affected area, verify material saturation, and select the right extraction tool for carpet, padding, or hard surfaces. They may use weighted extractors, wand units, or portable pumps to pull water from above and below the surface. Each pass reduces moisture load and shortens overall drying time.
You stay part of the process by keeping access clear and reporting any trapped water, since hidden pockets can remain under furniture or along edges.
After extraction, the team measures remaining dampness to confirm what still needs targeted drying. This method keeps your property on a controlled path toward recovery, with each step focused on measurable moisture removal and documented progress.
Airflow Speed Drying
Once standing water is removed, airflow takes over by speeding evaporation from damp surfaces and materials.
You position high-velocity air movers to create a focused drying pattern across floors, walls, trim, and cavities. That moving air strips away the humid boundary layer at the surface, so moisture can migrate out faster.
You’ll get the best results when you aim each unit to push air over wet materials without dead zones or direct blasting that scatters debris. Technicians map the area, adjust equipment angles, and keep pathways open so every affected member of your space gets consistent drying.
In practice, this method supports the full cleanup team by reducing lingering dampness, limiting secondary damage, and moving your structure toward stable, professional recovery.
Dehumidifier Moisture Control
As airflow accelerates evaporation, dehumidifiers remove the resulting water vapor from the air so the drying chamber doesn’t become saturated again. You rely on this moisture control to keep the vapor pressure gradient low, which lets water leave materials faster.
Professionals usually pair extraction with refrigerant or desiccant units, then place them to pull humid air from the affected zone and discharge drier air back in. You’ll see psychrometers or hygrometers used to verify relative humidity, dew point, and daily moisture loss.
As the environment stabilizes, you can trust the equipment to protect subfloors, wall cavities, and trim from secondary damage. That’s the system working with you, not against you, so the whole drying team stays aligned and every hidden pocket gets a fair chance to dry.
Drying Walls, Floors, and Ceilings
Dry walls, floors, and ceilings with controlled airflow and dehumidification after removing all standing water. You’ll position air movers to sweep moisture from surfaces, then keep dehumidifiers running to lower vapor in the room.
Open cavities, remove baseboards, and expose wet materials so air can reach them evenly. Use floor mats or injection drying for trapped moisture under finished flooring. You should isolate the affected area to prevent humid air from spreading into clean spaces.
- Direct air across wet wall cavities
- Dry subfloors before reinstalling finishes
- Monitor insulation and remove saturated sections
- Protect unaffected rooms with containment
- Keep equipment spaced for full circulation
This method helps your crew work together and keeps the structure drying in a controlled, professional way.
How to Tell Drying Is Working
You can tell drying is working when moisture readings drop steadily and the affected materials begin returning toward normal conditions. You should see consistent trends across walls, floors, and trim, not random spikes.
Surface temperature often stabilizes as airflow and dehumidification remove trapped moisture. Your technician may check subflooring, insulation, and framing with calibrated meters to confirm the same downward pattern.
Humidity in the work area should also fall as equipment pulls vapor from the air. You’ll notice materials feel lighter, firmer, and less cool to the touch.
Good drying doesn’t rely on appearance alone; it depends on measurable progress. When readings approach the baseline from unaffected areas, you can trust the process is moving in the right direction and your space is getting back to normal.
Prevent Mold After Water Damage Cleanup
Prevent mold after water damage cleanup by removing all standing water, then driving moisture out of materials before it can support fungal growth.
You should inspect baseboards, cavities, and insulation, because trapped water often lingers where you can’t see it. Run extraction, airflow, and dehumidification together until readings normalize. Keep relative humidity below 60%, and discard porous items that stayed saturated too long.
- Check hidden voids with a moisture meter
- Clean and disinfect affected surfaces promptly
- Remove wet drywall, padding, and insulation
- Maintain continuous air movement across damp zones
- Reinspect daily until materials reach safe dryness
When you act quickly and methodically, you protect your space and help your home feel secure again.
Frequently Asked Questions
How Long Does Professional Water Damage Drying Usually Take?
Usually, you’ll see professional water damage drying take 3–5 days, though severe saturation can take a week or more. You’ll get faster results with prompt extraction, strong airflow, and continuous dehumidification.
Can Wet Insulation Be Dried Without Replacement?
Sometimes, you can dry wet insulation if you catch it quickly and it hasn’t compressed, contaminated, or mold-damaged. You’ll need strong airflow, dehumidification, and moisture monitoring; otherwise, you should replace it.
What Equipment Measures Hidden Moisture in Walls?
You use a moisture meter, often with pin and pinless sensors; infrared cameras also reveal damp wall patterns. About 60% of hidden damage starts behind surfaces, so you’ll catch issues early and protect your space.
Will Water Damage Cleanup Remove Sewage Odors Too?
Yes, if you address contaminated materials, extract waste, disinfect surfaces, and dry thoroughly, you’ll remove most sewage odors. Persistent smells may need deodorization or source removal, so you’ll want full sanitation and inspection.
Can Hardwood Floors Be Saved After Flooding?
Yes, you can often save hardwood floors after flooding if you act fast. You should extract water, dry boards evenly, and monitor moisture. If cupping, warping, or staining persists, you’ll need board replacement.
Recap
You stop the leak, but the real work begins beneath the surface. You trace hidden moisture like a signal in the dark, then pull it out with extraction, airflow, and dehumidification until humidity falls below 60%. You watch readings, not guesses, because every damp wall or floorboard is a warning light. When the space dries cleanly, you’ve turned water damage from a threat into a controlled recovery, ready for safe restoration.