
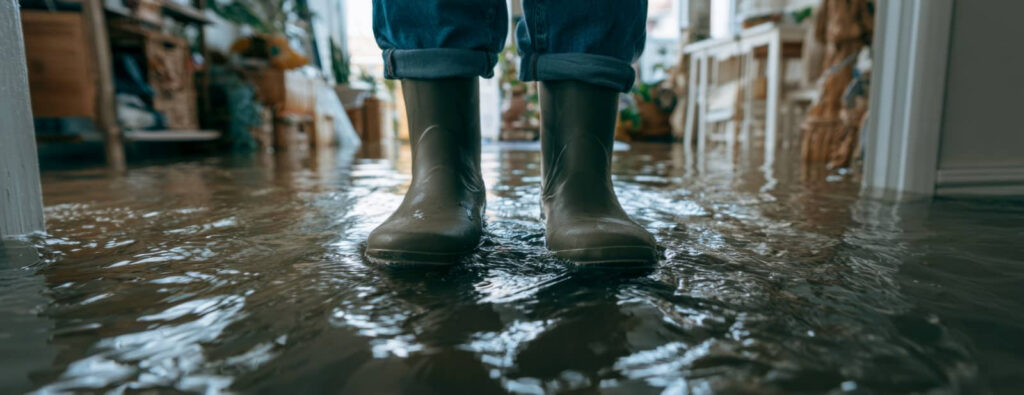
If you’ve got water damage at home, your first actions can limit the cost and scope of repairs. You need to stop the source, protect electrical systems, and document the affected areas before moisture spreads into walls and subfloors. From there, restoration depends on fast assessment, controlled drying, and targeted cleanup. The real challenge starts when hidden damage reveals itself, and that’s where the next steps matter most.
Key Takeaways
- Shut off the water source and electricity, then move people, pets, and valuables to a dry, safe area.
- Document damage with photos and notes, and contact your insurer or restoration professional quickly.
- Remove standing water, wet debris, and salvageable items, then use air movers and dehumidifiers to dry the space.
- Clean and disinfect affected surfaces, and replace damaged drywall, insulation, flooring, and fixtures as needed.
- Prevent future damage by maintaining plumbing, roofing, gutters, drainage, and installing leak sensors in risky areas.
What to Do Immediately After Water Damage
Act quickly after water damage to limit structural, electrical, and microbial risks. You should shut off the water source if it’s safe, then turn off power to affected areas at the breaker.
Move people and pets to a dry space, and keep your team’s safety first. Document visible damage with photos and short notes for your records.
Remove wet rugs, papers, and lightweight furniture that you can handle without strain. Open windows only if outdoor conditions are dry; otherwise, keep humidity controlled.
Contact a qualified water damage restoration professional promptly so you’re not left guessing about hidden moisture. Avoid using household vacuums on standing water or disturbing soaked drywall.
Your calm, organized response helps protect the home, supports faster recovery, and keeps you connected to a capable restoration process.
How Water Damage Restoration Begins
The restoration process usually begins with a rapid inspection and moisture assessment so the crew can identify the water source, determine the affected materials, and classify the damage.
You’ll see technicians map moisture with meters and thermal tools, then document conditions for the restoration plan. They’ll check structural elements, finishes, and hidden cavities to confirm what’s salvageable and what needs removal.
This first step helps your team prioritize hazards, protect your home’s systems, and coordinate with your insurer if needed.
You’re not expected to manage every detail alone; the crew will guide you through each decision with clear, practical updates.
Drying Out the Damage and Cleaning Up
Once the crew finishes the initial assessment, they’ll start drying the structure with industrial air movers, dehumidifiers, and targeted ventilation to stop moisture from spreading and to reduce the risk of mold.
You’ll see technicians monitor humidity, temperature, and moisture readings so they can confirm each area’s progress and adjust equipment fast.
- Extract standing water
- Remove wet debris
- Clean affected surfaces
- Disinfect salvageable items
This step matters because trapped moisture can keep damaging materials even after the visible water is gone.
You can feel confident when your team documents readings, isolates wet zones, and keeps airflow moving through hidden spaces.
They’ll also bag debris, sanitize touchpoints, and manage odors so your home feels safer, cleaner, and more settled as drying continues.
Repairing Walls, Floors, and Fixtures
After drying is complete and moisture levels are stable, your crew can begin repairing damaged walls, floors, and fixtures with a clear plan based on the original loss.
You’ll see technicians remove weakened drywall, replace insulation if needed, and install new materials that match the room’s structure.
If flooring is warped, they’ll lift compromised sections, repair the subfloor, and refit tile, wood, or carpet with exact alignment.
Fixtures such as baseboards, cabinets, trim, and plumbing accessories are cleaned, repaired, or swapped out as needed.
Your team will check fit, finish, and operation at each step so the space feels solid again.
Throughout the process, you’re kept informed, so you know what’s being restored, why it matters, and when each area is ready for final walkthrough.
How to Prevent Future Water Damage at Home
To reduce the risk of future water damage, you’ll want to inspect and maintain the systems that most often fail first: plumbing, appliances, roofing, gutters, and drainage.
Check supply lines, shutoff valves, and hose connections for corrosion or seepage, and replace worn parts before they fail. Clean gutters and downspouts so water moves away from your foundation. Test sump pumps and verify grading slopes outward.
- Inspect under sinks monthly
- Replace appliance hoses every 5 years
- Seal roof penetrations and flashing
- Install leak sensors near risk areas
You’re not just protecting your house; you’re strengthening the place where your family belongs.
Keep indoor humidity controlled, document repairs, and schedule annual professional inspections. Consistent care prevents small leaks from becoming costly emergencies.
Frequently Asked Questions
Does Homeowners Insurance Cover Water Damage Restoration Costs?
Your policy’s umbrella can cover sudden water damage, but not neglect or flooding. You’ll need to review exclusions, act fast, and document losses; then your insurer can help pay restoration costs.
How Long Does Water Damage Restoration Usually Take?
You’ll usually spend 3–7 days on drying, then 1–3 weeks on repairs, depending on damage. You can speed recovery by acting fast, documenting everything, and working closely with your restoration team.
Can I Stay in My Home During the Restoration Process?
You can stay sometimes, but you shouldn’t if damage affects electrical systems, contaminated water, or major drying equipment. You’ll work with your restorer to isolate safe areas, reduce disruption, and keep your household protected.
What Types of Water Damage Require Professional Mold Testing?
You’ll need professional mold testing after contaminated, Category 2 or 3 water, sewage backups, hidden leaks, or any standing water lasting over 24–48 hours. You can protect your home and family by acting fast.
How Do Restoration Companies Determine the Extent of Hidden Damage?
You’ll see restoration companies determine hidden damage using moisture meters, infrared cameras, and targeted openings. They inspect walls, floors, and cavities, document readings, and map moisture spread so you can trust the repair plan.
Conclusion
You’ve stopped the source, documented the damage, and started the restoration—but the real test is what happens next. If you act quickly, measure moisture accurately, and dry every hidden cavity, you can stop mold before it starts. Then, as repairs begin, your home can recover safely and fully. Stay vigilant, because the final threat isn’t the water you saw—it’s the moisture you didn’t. With the right steps, you’ll keep your home protected.