
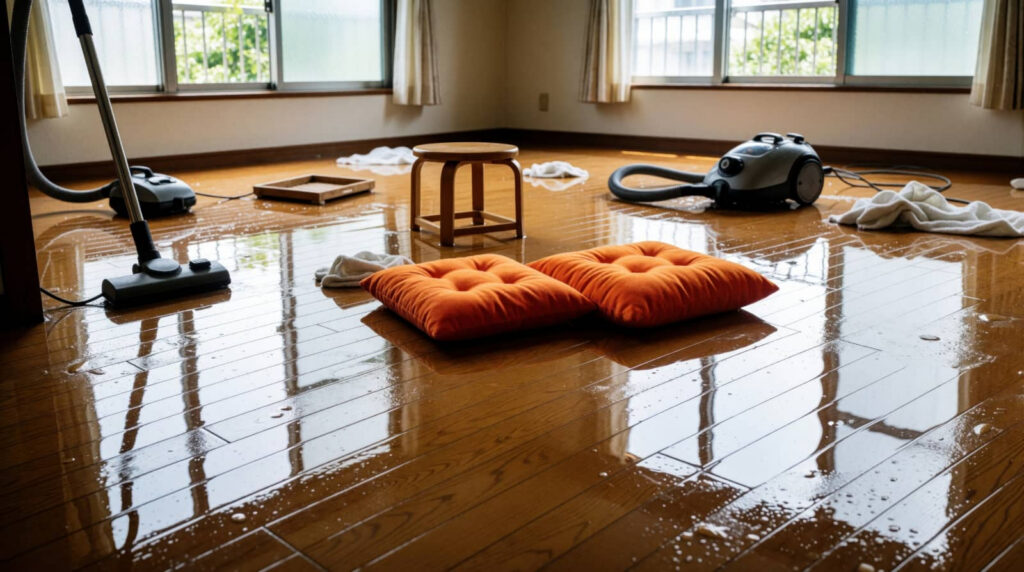
When your basement has 2 inches of water after a pipe burst, you start with emergency mitigation: you shut off the source, document damage, and extract standing water. Then inspectors trace hidden moisture with meters and thermal imaging, set drying equipment, and sanitize affected surfaces before repairs begin. The process looks linear, but one missed step can delay every phase that follows.
Key Takeaways
- Emergency mitigation starts with safety, water extraction, and setup of air movers and dehumidifiers.
- The water source is found using visual inspection, moisture meters, thermal imaging, and plumbing checks.
- Standing water is removed quickly, then affected areas are dried with controlled airflow and monitored moisture levels.
- Surfaces are cleaned and sanitized, damaged materials are removed, and the structure is prepared for repairs.
- Repairs replace damaged drywall, insulation, flooring, and trim, followed by final moisture verification and documentation.
What Happens During Emergency Water Mitigation?
During emergency water mitigation, technicians first inspect the affected area to identify the water source, assess damage, and determine the extent of contamination.
You’ll see them isolate hazards, document conditions, and establish safe access so your team stays protected and coordinated. They extract standing water with pumps and vacuums, then remove saturated materials that can’t be salvaged.
Next, they set air movers and dehumidifiers to stabilize humidity and slow microbial growth. You’ll also get clear updates, so you know what’s happening and what comes next.
This phase of the water damage restoration process focuses on fast containment, moisture control, and preserving structural integrity.
Technicians monitor equipment readings, adjust placement, and verify drying progress until the site’s ready for cleanup and repair.
How Do Inspectors Find the Water Source?
Inspectors find the water source by tracing the path of moisture from the most affected areas back to its origin. You’ll see them begin with a visual survey, noting stains, swelling, warped materials, and active drips.
They use moisture meters, thermal imaging, and sometimes a borescope to confirm hidden dampness behind walls or under flooring. Each reading helps narrow the likely entry point, whether it’s a supply line, appliance, roof penetration, or exterior gap.
They’ll also review plumbing fixtures, HVAC components, and nearby drainage conditions for pressure leaks or condensation. By comparing patterns, they can distinguish a single source from secondary spread.
This methodical approach helps your team stay informed, reduce guesswork, and keep the restoration plan focused on the exact cause.
What Happens During Water Extraction?
During water extraction, you remove all standing water as quickly as possible to limit further material damage.
You’ll use tools such as submersible pumps and truck-mounted or portable vacuums to draw water from floors, carpets, and other affected surfaces.
This step lowers moisture levels so the drying phase can begin efficiently.
Extracting Standing Water
Water extraction starts by locating the deepest pooled areas and identifying the fastest path to remove water.
You’ll see technicians isolate affected zones, verify safe access, and map drainage points so removal stays controlled. They reduce the water level in stages, keeping flow directed toward exits and away from unaffected materials.
You may notice moisture-prone baseboards, carpet edges, and low cavities getting checked for trapped liquid, because standing water often hides there.
The goal is to lower saturation quickly enough to limit swelling, staining, and microbial growth while preserving structural integrity.
Throughout the process, you stay informed on progress, and the team documents conditions so everyone knows what’s been cleared, what still needs attention, and when drying can begin.
Tools Used For Removal
Technicians use a targeted set of extraction tools to pull water out quickly and control the spread. You’ll see truck-mounted extractors, portable wet vacs, submersible pumps, and weighted wands working together to remove water from carpet, padding, and hard surfaces.
Crevice tools reach tight edges, while squeegee attachments sweep broad areas efficiently. Moisture meters guide each pass so you’re not left with hidden saturation.
- Truck-mounted extractors provide strong suction for rapid removal
- Portable units handle stairs, closets, and confined rooms
- Submersible pumps clear deep standing water fast
- Weighted wand heads compress carpet for better pickup
- Specialized nozzles target corners, seams, and baseboards
This method helps your crew stabilize the site, reduce secondary damage, and move your space toward drying with confidence.
How Is the Area Dried and Dehumidified?
After the standing water is removed, the team sets up air movers and dehumidifiers to pull moisture from the affected materials and surrounding air.
You’ll see technicians place equipment to create balanced airflow, so damp surfaces dry evenly and hidden moisture doesn’t linger. They’ll monitor temperature, relative humidity, and material moisture levels, then adjust the layout as conditions change.
In some areas, they may remove baseboards or open cavities to improve evaporation and ventilation. Dehumidifiers condense water vapor from the air, while air movers speed evaporation from floors, walls, and contents.
You stay informed because the crew tracks readings and compares them to target drying goals. This methodical process helps your space return to safe, stable conditions.
How Are Surfaces Cleaned and Sanitized?
You clean affected surfaces with appropriate detergents, mechanical agitation, and controlled rinsing to remove dirt, biofilm, and remaining contaminants.
You then sanitize porous and nonporous materials with approved antimicrobial agents, matching the product and dwell time to the contamination level.
Finally, you remove odors and residues with targeted treatments so the area’s surfaces are safe and ready for repair.
Surface Cleaning Methods
Surface cleaning begins once standing water is removed and the affected area is dry enough for safe access. You’ll work methodically, grouping tasks by surface type so every pass is consistent and controlled.
Start by vacuuming loose debris, then wash hard surfaces with a neutral detergent and clean water. Use microfiber cloths, non-abrasive pads, and low-moisture techniques to avoid driving residue deeper. Rinse as needed, then dry each section completely to reduce streaking and recontamination.
- Wipe from the cleanest area toward the dirtiest
- Change cloths often to maintain performance
- Use HEPA vacuuming on dry dust and particulates
- Agitate only as much as the surface allows
- Verify the finish with a final visual inspection
These steps help you restore a space that feels orderly, safe, and ready for the next phase.
Sanitizing Contaminated Materials
Once contaminated debris and residue have been removed, you sanitize affected surfaces to reduce microbial risk and prepare the area for repair.
You then select an approved disinfectant matched to the material and contamination level. You apply it at the correct dilution, keep the surface visibly wet for the required contact time, and reapply if drying occurs too soon.
You work from cleaner areas toward more affected ones, using separate cloths, mops, and brushes to avoid cross-contamination. Nonporous surfaces get wiped and sanitized; semi-porous materials may need repeated treatment.
You also inspect seams, corners, and hidden contact points so your crew doesn’t miss any exposure.
When done correctly, you create a safer workspace for the next phase and help everyone on-site move forward with confidence.
Odor And Residue Removal
After sanitation, crews focus on odor and residue removal by isolating the source, then treating affected materials with targeted cleaners, absorbents, and deodorizing agents.
You’ll see technicians inspect porous and nonporous surfaces, then select methods that match the contaminant load and material type. They wipe, scrub, or extract residues so films don’t reemit smell or hinder repairs.
- HEPA vacuuming lifts fine debris
- Enzyme cleaners break down organic residue
- Neutralizers address persistent odors
- Air scrubbers reduce airborne particles
- Moisture checks confirm surfaces are dry
You’re part of a process that restores safe conditions with measured steps, documented results, and verified cleanliness.
Crews finish by rechecking hidden cavities, trim joints, and HVAC returns so your space feels clean, stable, and ready for final repairs.
When Do Repairs and Rebuilding Start?
Repairs and rebuilding start only after the structure is dry, clean, and stable enough to support the next phase of work. You’ll typically move into this stage after moisture readings confirm safe levels and any damaged materials that can’t be salvaged have been removed.
Your team can then replace drywall, insulation, trim, flooring, and other affected components in a controlled sequence. This phase focuses on restoring structural function and finish quality, not chasing hidden problems.
You should expect carpentry, patching, sealing, painting, and installation work to follow a planned scope. If you stay coordinated with your restoration crew, you’ll keep the process efficient and reduce rework.
At this point, you’re rebuilding the space your home or business needs to feel whole again.
How Do You Know Restoration Is Finished?
You know restoration is finished when the space meets the agreed scope and passes final verification checks.
You should confirm dry materials, stable humidity, repaired finishes, and safe utilities before you sign off. Your team should document meter readings, photos, and test results so you can verify the work with confidence.
If any item still shows elevated moisture, odor, or functional defects, the job isn’t complete yet.
- Moisture levels match normal baselines
- Structural surfaces feel sound and dry
- Equipment has been removed
- Cleaning and disinfection are complete
- Repairs match the approved scope
Frequently Asked Questions
How Long Does Water Damage Restoration Usually Take?
Water damage restoration usually takes three to seven days for drying, but full repairs can extend to two weeks or longer, depending on saturation, materials, mold risk, and how quickly you act.
Does Homeowners Insurance Cover Water Damage Restoration?
Usually, yes—you’re covered for sudden, accidental water damage, but not gradual leaks, poor maintenance, or floodwater. You should review your policy, document losses, and contact your insurer quickly to confirm coverage and claim requirements.
What Should I Do Before the Restoration Crew Arrives?
Like a triage board, you should shut off electricity, stop the water source, move valuables, photograph damage, and ventilate safely. Then you’ll clear access, note hazards, and wait for the crew.
Can Mold Grow During the Restoration Process?
Yes, mold can grow during restoration if you leave moisture behind or drying slows. You’ll reduce risk by acting fast, controlling humidity, removing wet materials, and verifying dryness before repairs start.
How Much Does Water Damage Restoration Cost?
Costs vary widely, but you’ll usually pay $1,000-$5,000 for minor damage and $5,000-$20,000+ for severe losses. You should expect inspection, extraction, drying, cleanup, and repairs to drive your final price.
Summary
When you finish the water damage restoration process, every step should align: the source is stopped, moisture levels are verified, surfaces are sanitized, and repairs are complete. You see the coincidence of dry materials, stable humidity, and clean documentation all confirming the same result—your space is safe again. With testing, monitoring, and final inspection, you can trust that mitigation, drying, and rebuilding have worked together exactly as planned.