
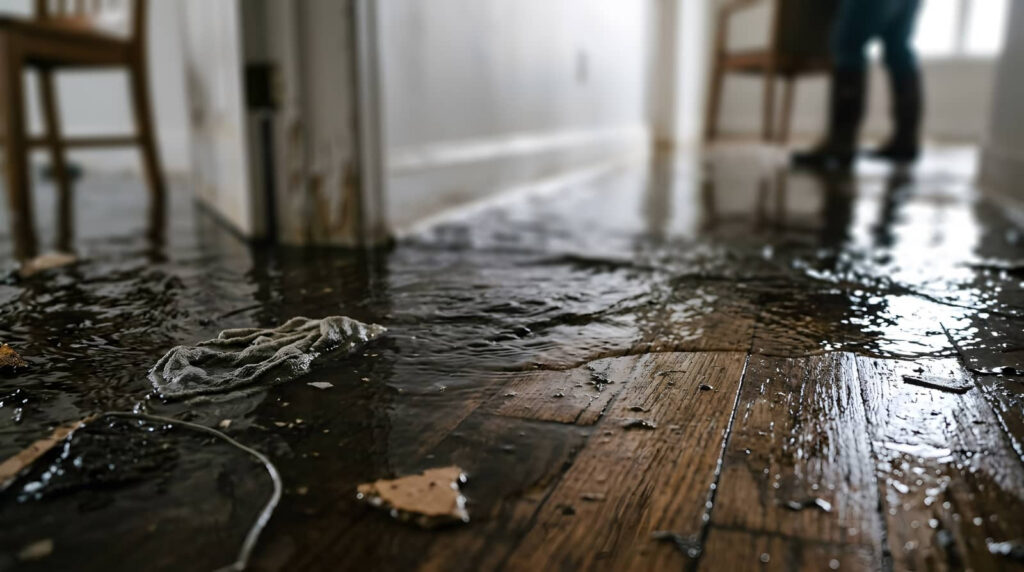
In the first hour after water damage, Emergency Water Damage Restoration starts with acting fast while keeping safety first. Shut off the water source if you can do so safely, cut power to affected areas, and document the damage for insurance. Restoration crews can then remove standing water, start airflow, and protect salvageable contents. What they inspect next can determine how far the damage has spread, and that’s where the process becomes more detailed.
Key Takeaways
- First responders will assess safety, shut off water and electricity if needed, and identify the source of the leak.
- They document damage with photos and notes for insurance and restoration records.
- Crews remove standing water quickly using pumps, vacuums, and extraction equipment.
- Drying begins immediately with air movers, dehumidifiers, and moisture checks for hidden water.
- Technicians inspect affected materials, remove unsalvageable items, and explain the repair plan clearly.
What to Do in the First Hour After Water Damage
In the first hour after water damage, you need to act fast to limit swelling, staining, and structural deterioration. Start emergency water damage restoration by identifying the source, if you can do so safely, and stopping further intrusion.
Then document affected areas with photos for your claim and notify your restoration team right away. Move lightweight valuables, rugs, and paper items out of the wet zone, and open interior doors to improve air circulation.
Remove standing water with towels, a wet vacuum, or a pump if available. Position fans and dehumidifiers to accelerate drying.
Check wall surfaces, baseboards, and flooring for softening or discoloration, and track changes. When you respond quickly and methodically, you protect your space and join a team working to stabilize your home.
Water Damage Restoration Safety Steps
Before you enter the affected area, check for electrical hazards and shut off power if water has reached outlets, wiring, or appliances.
You should wear protective gear, including waterproof boots, gloves, and eye protection, to reduce exposure to contaminants and sharp debris.
These safety steps help you work more securely while you assess and stabilize the damage.
Electrical Hazard Checks
If floodwater or a burst pipe has reached outlets, cords, or appliances, shut off power to the affected area only if you can do so safely.
Then keep everyone away from standing water and confirm the breaker panel is dry before you touch it. You should never reset breakers, plug in equipment, or test appliances until a qualified technician has cleared the space.
Ask for a voltage check on wet circuits, damaged outlets, and submerged wiring, because hidden faults can energize surfaces without warning.
If you smell burning, hear buzzing, or see sparking, leave the area and report it right away.
Careful electrical checks protect your home, your crew, and the team restoring your space, so you can move forward with confidence together.
Protective Gear Use
Once the area is electrically safe, you should put on the right protective gear before you enter to assess or clean up water damage. You’re protecting yourself from contaminated water, sharp debris, and airborne irritants, and you’re also helping the team work efficiently and confidently.
- Wear waterproof boots with slip-resistant soles to reduce falls and keep moisture out.
- Use nitrile gloves, eye protection, and a respirator when spray, mold, or sewage may be present.
- Choose long sleeves and disposable coveralls so you can limit skin contact and remove contaminated clothing safely.
Check each item for fit before entry, and replace anything torn or saturated.
Good gear lets you stay focused, communicate clearly, and move through the first response with the rest of your crew.
How Teams Stop the Water Source Fast
You’ll first locate the water source by tracing the leak path, checking fixtures, supply lines, and visible moisture spread.
Then you’ll shut off the correct valve or main supply to stop additional flow and reduce pressure in the line.
If water is still escaping, you’ll contain the active leak with temporary barriers or absorbent materials until full repairs can begin.
Locate Water Source
The first priority is to locate the water source and stop it fast, because every minute of flow increases structural damage and cleanup time.
You’ll see the crew trace visible moisture, listen for active flow, and inspect likely failure points with meters and flashlights. They work methodically, so you know nothing’s being guessed. Their goal is to identify the exact origin without disturbing more materials than needed.
- Confirm where water is entering.
- Map the affected areas.
- Verify the source is no longer spreading.
That process lets your team move quickly and keeps you informed at every step.
You’re not left alone in the uncertainty; you’re guided by technicians who know how to narrow the problem, protect your property, and restore control with confidence.
Shut Off Valves
Technicians shut off the nearest valve first to stop active flow at the source and limit further saturation. You’ll see them move methodically, tracing supply lines to isolate the affected fixture, appliance, or branch line.
They verify which shutoff controls the leak, then turn it fully closed and confirm the flow has stopped. If a local valve doesn’t hold, they may use a main shutoff to protect your home’s structure and belongings.
This step helps your team act quickly and keeps you informed about what’s being secured. You’re part of a coordinated response, and clear valve control gives everyone a safer, more manageable starting point.
Once the water stops, they can document conditions and prepare the next restoration steps with confidence.
Contain Active Leaks
Once the main flow is stopped, the crew contains any remaining leak points to keep water from spreading further. You’ll see them move fast, yet carefully, so your space stays controlled and your stress stays lower.
They identify wet fixtures, cracked lines, loose fittings, and any seepage around appliances or walls, then apply temporary barriers or clamps as needed.
- They isolate the damaged section.
- They seal or patch active escape points.
- They verify the leak has fully stopped.
This step protects adjoining rooms, limits saturation, and gives the team a stable work zone.
You’re not left guessing; they explain what they found, what they’ve secured, and what happens next. That clear communication helps you feel included, informed, and confident.
How Pros Remove Water and Moisture
Pros start by extracting standing water with high-capacity pumps and truck-mounted vacuums. Then they place air movers and dehumidifiers to pull moisture from floors, walls, and hidden cavities.
You’ll usually see technicians monitor humidity, surface temperatures, and moisture readings to confirm progress. They may open trapped spaces, remove saturated porous materials, and use thermal imaging or moisture meters to find what your eye can’t.
This targeted approach helps stop swelling, warping, and microbial growth before they spread. You’re kept informed at each step, so you know what’s drying, what’s being removed, and why.
Set Up Drying and Airflow
After standing water is removed, crews set up a controlled drying plan with air movers and dehumidifiers to keep moisture moving out of materials.
You’ll see equipment positioned to create balanced airflow, so damp areas dry evenly and quickly. Technicians adjust the layout based on room size, humidity, and material type, then monitor conditions to keep the process steady.
You’re part of the team effort, and that matters because good drying protects your space from lingering dampness.
- Air movers push surface moisture into the air.
- Dehumidifiers pull that moisture from the room.
- Sensors help verify drying progress.
This setup runs continuously until readings confirm the space is drying as expected.
Check Floors, Walls, and Contents for Damage
As drying equipment runs, technicians inspect floors, walls, and contents to identify what’s been affected and what can be saved. You’ll see them map wet areas, test materials, and note where moisture has traveled beneath surfaces.
They check carpet, wood, baseboards, drywall, furniture, and personal items for swelling, staining, warping, or saturation. This careful pass helps you understand the true scope of the loss and keeps your restoration team working from the same facts.
You’re part of the process, so you can point out valuables, electronics, or sentimental items that need attention. Clear documentation also supports accurate drying decisions and protects your records.
Which Repairs Come After Cleanup
Once the site is cleaned and dried, repairs usually begin with the parts that restore safety and stop further damage, such as replacing damaged drywall, insulation, baseboards, and flooring.
You’ll usually see your team sequence the work to keep the structure stable and the space livable. First, they remove compromised materials that can’t safely stay in place.
Second, they repair hidden issues, like warped framing, wet subfloors, or loose electrical components.
Third, they finish with surface restoration, matching textures, paint, and trim so the room feels whole again.
You’re not just getting a fix; you’re getting your space back with careful, measured work.
During this phase, clear communication helps you stay informed and confident as each repair moves your home toward normal again.
Frequently Asked Questions
How Quickly Should I Call a Restoration Company After Flooding?
Call a restoration company immediately, ideally within the first hour after flooding. You’ll reduce structural damage, mold growth, and repair costs, and your team can start drying, documenting, and stabilizing your property fast.
Will My Insurance Cover Emergency Water Damage Restoration?
Usually, yes—if your policy covers sudden, accidental damage, you’ll likely get reimbursement. You should document losses, contact your insurer fast, and use approved mitigation steps; like a lifeline, prompt action protects your claim and peace.
Can I Stay in My Home During First-Response Cleanup?
Usually, you can stay if the damage is contained, utilities are safe, and cleanup stays noninvasive. You’ll need to leave if there’s structural risk, sewage, mold, or exposed wiring. Your crew’ll guide you.
How Long Does the Initial Restoration Assessment Take?
Your initial restoration assessment usually takes 30 to 90 minutes. You’ll see technicians inspect damage, test moisture, document affected areas, and plan next steps quickly, so you feel informed and included from the start.
What Documents Should I Prepare for the Restoration Team?
You should prepare your insurance policy, photos, receipts, and any maintenance records; teams often report that 1 in 4 claims stalls without them. You’ll speed approval, protect your interests, and feel supported throughout.
Summary
In the first response, you don’t get a dramatic rescue montage; you get fast, methodical work. You shut off hazards, stop the water, and document the scene like a very serious detective with a mop. Then teams remove standing water, boost airflow, and check what can be saved before damage spreads. That calm, technical response isn’t flashy, but it’s exactly what keeps a soggy disaster from becoming an expensive disaster.